The diameter and heights of lunar craters
Abstract
In this experiment you will use images of the Moon (taken with the School's
telescope) to identify impact craters on the lunar surface. You will then go
on to measure the diameters of the craters and their heights. Finally, you
will compare the results you have obtained with published values.
Introduction
Before the advent of spaceflight our knowledge of the Moon was limited
to what could be gleaned from meticulous observations of its surface
using gound-based drawings and photographs. Eventually,
space missions, such as Apollo,
revolutionized our understanding of the lunar topography and geology
(actually selenology). Here you will use images taken with our
charge-couple device (CCD) detector attached to our 10" telescope to
make measurements of the diameters and heights of craters.
Section 1: The data
The data consist of a series of 8 images that were taken on 13 March 2003.
The images were taken along the terminator of the Moon, which is the line
that separates the day and night hemispheres. You will see that substantial
amounts of the images are a uniform white, and that some show streaks of
white in the vertical direction. This is where the CCD images are
"saturated"; the Moon is very bright and some of the pixels in the camera have
become full of charge, which may have then leaked into surrounded pixels.
You should ignore regions of the images that are saturated, as they do
not contain useful data.
Image 1: 2003 March 13 19:25 UT
|
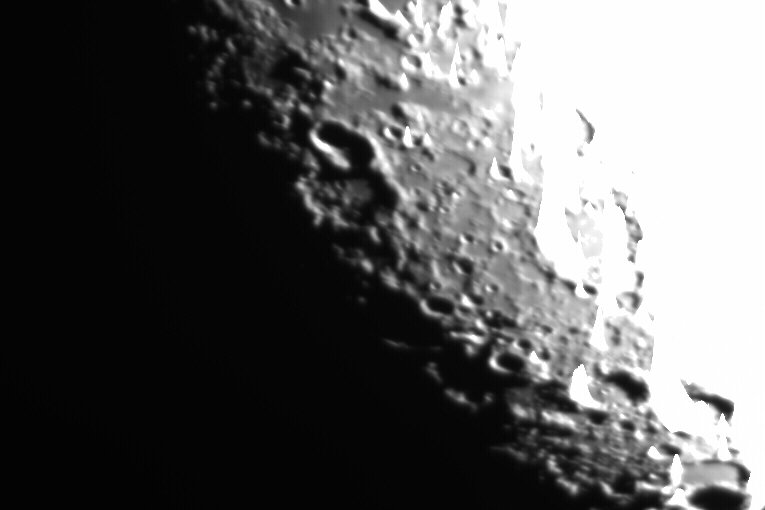
Image 2: 2003 March 13 19:27 UT
|
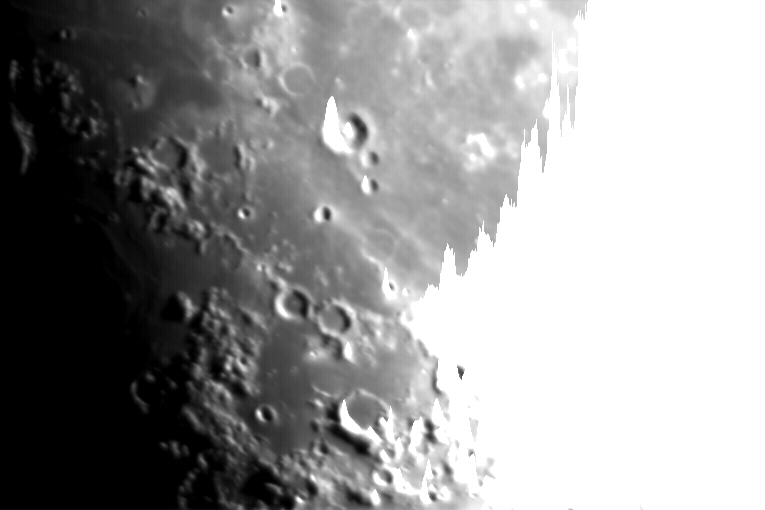
Image 3: 2003 March 13 19:28 UT
|
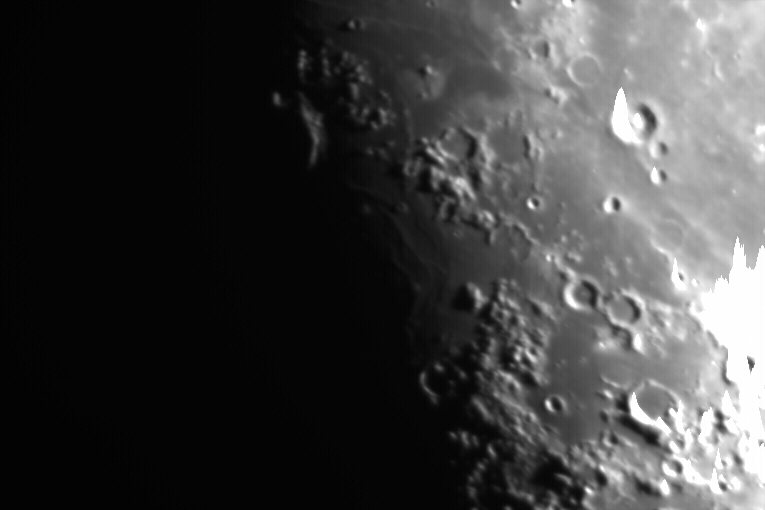
Image 4: 2003 March 13 19:30 UT
|
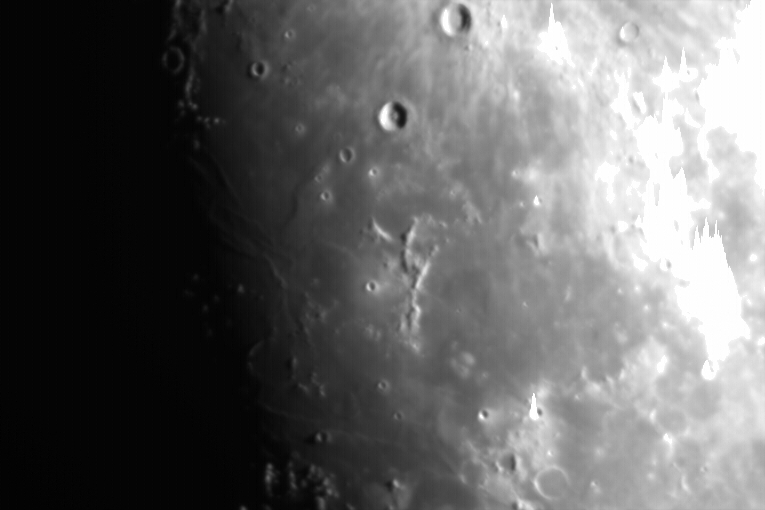
Image 5: 2003 March 13 19:31 UT
|
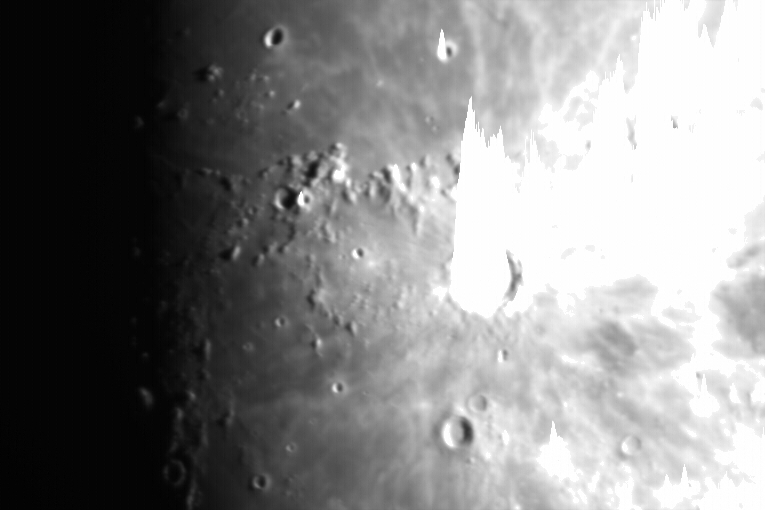
Image 6: 2003 March 13 19:32 UT
|
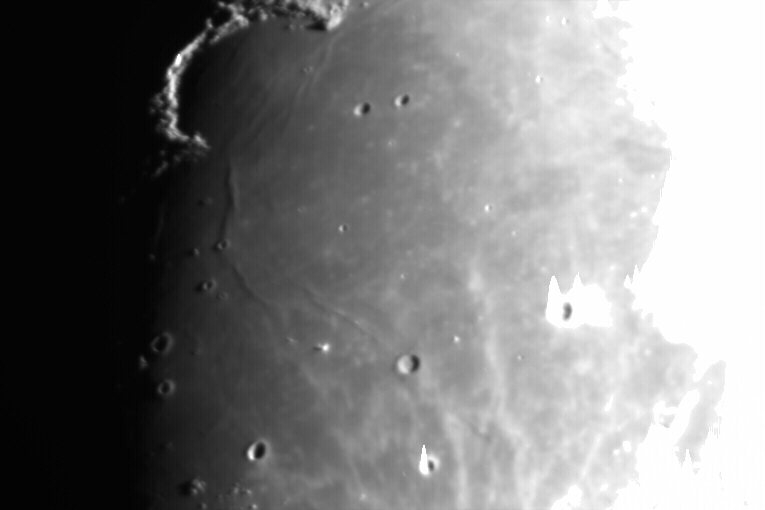
Image 7: 2003 March 13 19:32 UT
|
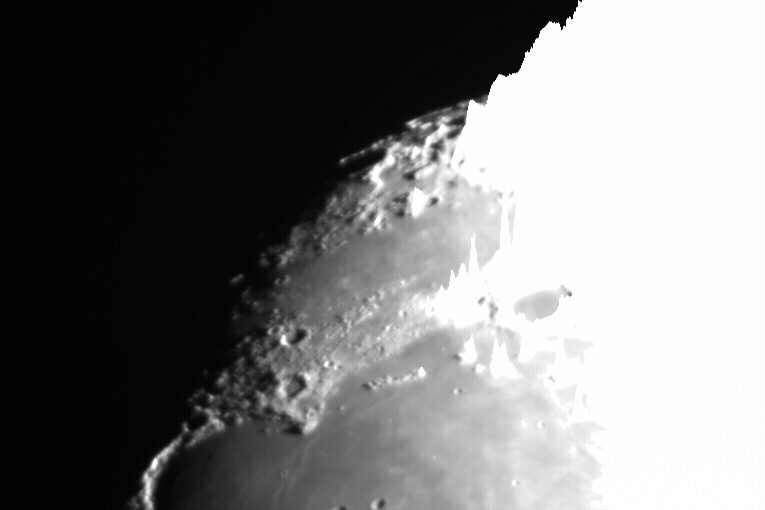
Image 8: 2003 March 13 19:33 UT
|
The images in the above table are links to jpeg format copies of the
original images and you should download these to your user space. On
the Macs in the lab you will find an application called ImageJ (in the
Applications folder) which is suitable for viewing these images.
The lunar surface comprises dark, flat regions known as maria (singular mare, latin
for sea), brighter regions which are highlands, and of course the ubiquitous impact craters.
The craters are especially conspicuous near the terminator, where their shadows
are longest. Many craters contain interior planes that are as flat as the maria, and mountainous
walls that define their edges. The largest crater on the near side of the Moon is
Clavius (diameter 235km), and the curvature of the lunar surface is such that if you were
standing in the middle of this crater you would not be able to see its walls (which are 6.6 km high).
Use the online lunar atlas
to identify the main features on each image. Print out a copy
of each of the images and annotate them with the names of the features.
Hint: as a starting point compare this
atlas image with images number 7 and 8.
Section 2: Measuring the diameters of craters
Identify five craters that you wish to measure. These should show a
measurable shadow (so look near the terminator) and should appear in
this
list of craters. Make sure you write down the latitude and
longitude of the craters. The latitude and longitude are in the
selenographic coordinate system, where the zero-point is in the centre
of the disc facing Earth.
Question: Why did you select your particular craters?
You now need to measure the diameter of the crater in pixels. In ImageJ
the x and y co-ordinates of the pixel under the cursor are shown in
the ImageJ window. Due to projection effects (foreshortening) the
crater will appear as an ellipse; always measure the longest axis.
Estimate your error on this value.
We know that the pixel scale of the image is 0.73 arcseconds per pixel
(remember that an arcsecond is 1/60 of an arcminute which is in turn
1/60 of a degree). You can now calculate the apparent angular
diameter of the crater.
In order to determine the physical diameter of the crater we need to know the
lunar distance, which (since its orbit about the Earth is eccentric) varies
with time. Use this lunar ephemeris program
and the UT time of the image that you are interested in to find the lunar
distance at the time of the observation (note down all the information given,
you'll need it later). Now convert the lunar distance (given in Earth radii) to metres,
and hence calculate the diameter of your crater in kilometres and its associated error.
Compare this with the value in the database, and
comment on the accuracy of your measurements.
Hint: you may find the
small angle approximation useful.
Section 3: The heights of craters
The principle behind measuring the heights of lunar craters is quite simple:

For a given crater the Sun is at an elevation α. The quantity measured
is the shadow length s. It is then trivial to work out the height h of the
crater, measured from the crater floor to the top of the crater rim.
There is a subtly here though. The shadow length observed will only be the
same as the measured length s if the crater is viewed directly from above.
Otherwise the shadow is
foreshortened, and the projected length we measure is shorter than
the true length. We need to compensate for this factor, so divide the
apparent length of the shadow by the cosine of the crater's selenographic
longitude to get the true length.
Question: Why doesn't the foreshortening change with latitude along
the terminator?
We now need to calculate α, which is the Sun's elevation viewed from
the crater at the time the image was taken. This requires some
spherical trigonometry:
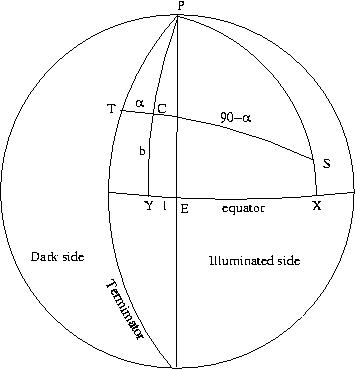
The above figure shows the lunar disc, with the crater marked at C.
The sub-earth point which defines the zero-point of selenographic coordinates
is marked E, while the pole is denoted P. The terminator, which divides
the illumated part of the disc from the dark part is also shown.
If you were standing on the lunar surface at S at the time of
the observation the Sun would be directly overhead, and this is called the
sub-solar point. Obviously the angular
distance from S, through the crater C, to the terminator at T, is 90 degrees.
(If you were standing on the terminator then the Sun would be on the horizon).
We are interested in the angle of Sun above the horizon at C, which we
have called α.
The angle CY is the selenographic latitude of the crater, while angle EY
is its longitude. Similarly, angle SX is the selenographic latitude of the
sub-solar point, and EX is its longitude (this quantities are given by
the ephemeris program). We can now apply the cosine equation for a spherical
triangle to get:
cos(CS)=cos(PC)cos(PS)+sin(PC)sin(PS)cos(CPS)
here CPS is the vertex angle, and is the difference in longitudes
between the sub-solar point and the crater (be careful about signs
here). Solve this equation for CS, and hence α (remember since
your crater is close to the terminator you expect this angle to be
small). You are now in a position to calculate your crater height, and
its associated error.
Compare your crater heights with those in the literature - try
this page for depths
of craters (in feet, so convert to metres). Comment on the
accuracy of your measurements.
Question: How could you improve the accuracy of the experiment?
Comments and dead links should be sent to
acreman@astro.ex.ac.uk
Last revised: $Date: 2012/09/26 14:07:08 $
Version: $Revision: 1.8 $